Walnut Mosaic
SKU: TV39
SKU: TV39
Ensure the wall is clean, dry, and level. Remove any dust, grease, or loose paint. The surface should be flat, with no more than 1/6 in. variation over 4 ft. Fill uneven areas with plaster or cover the installation area with 1/4 in. MDF sheets.
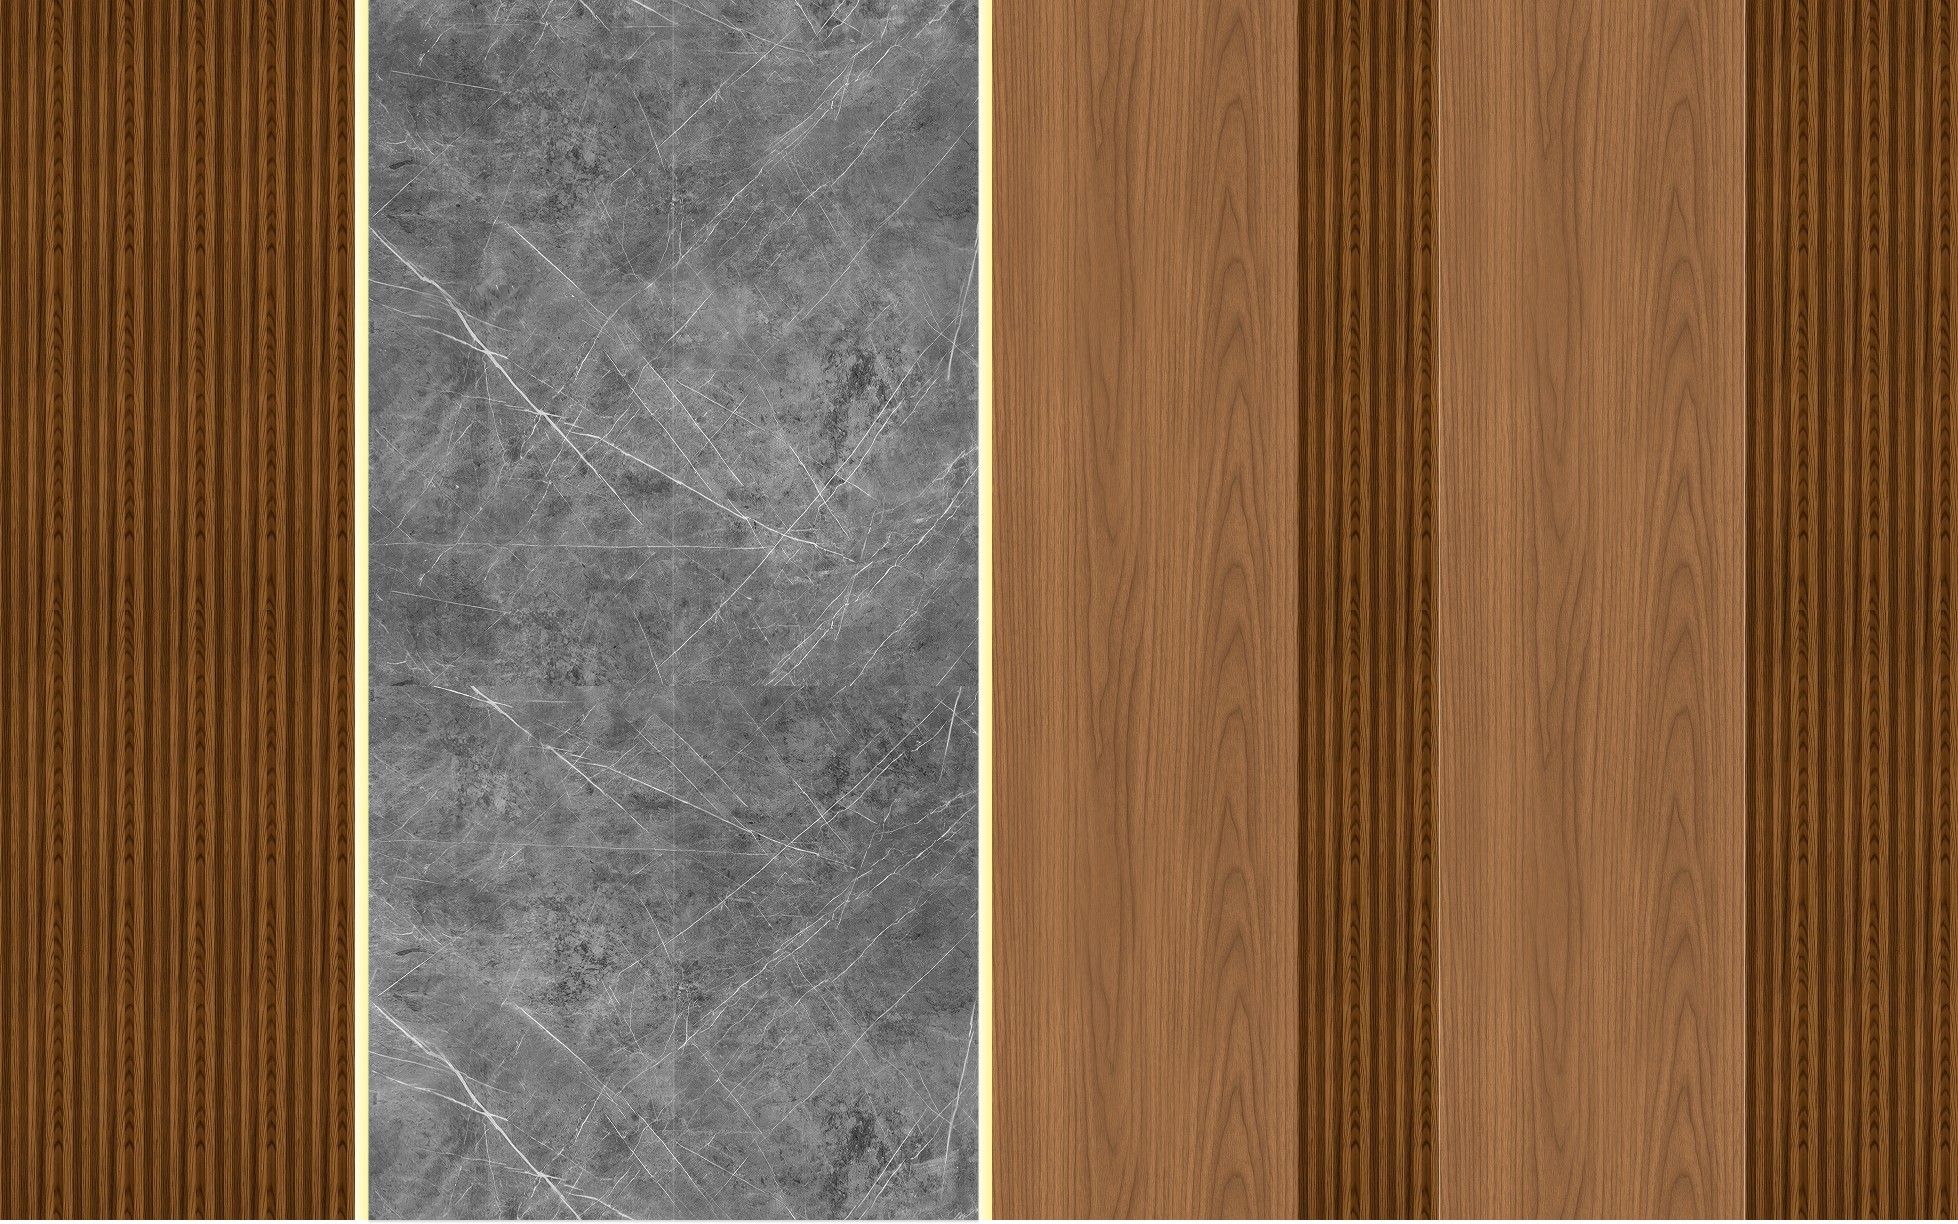
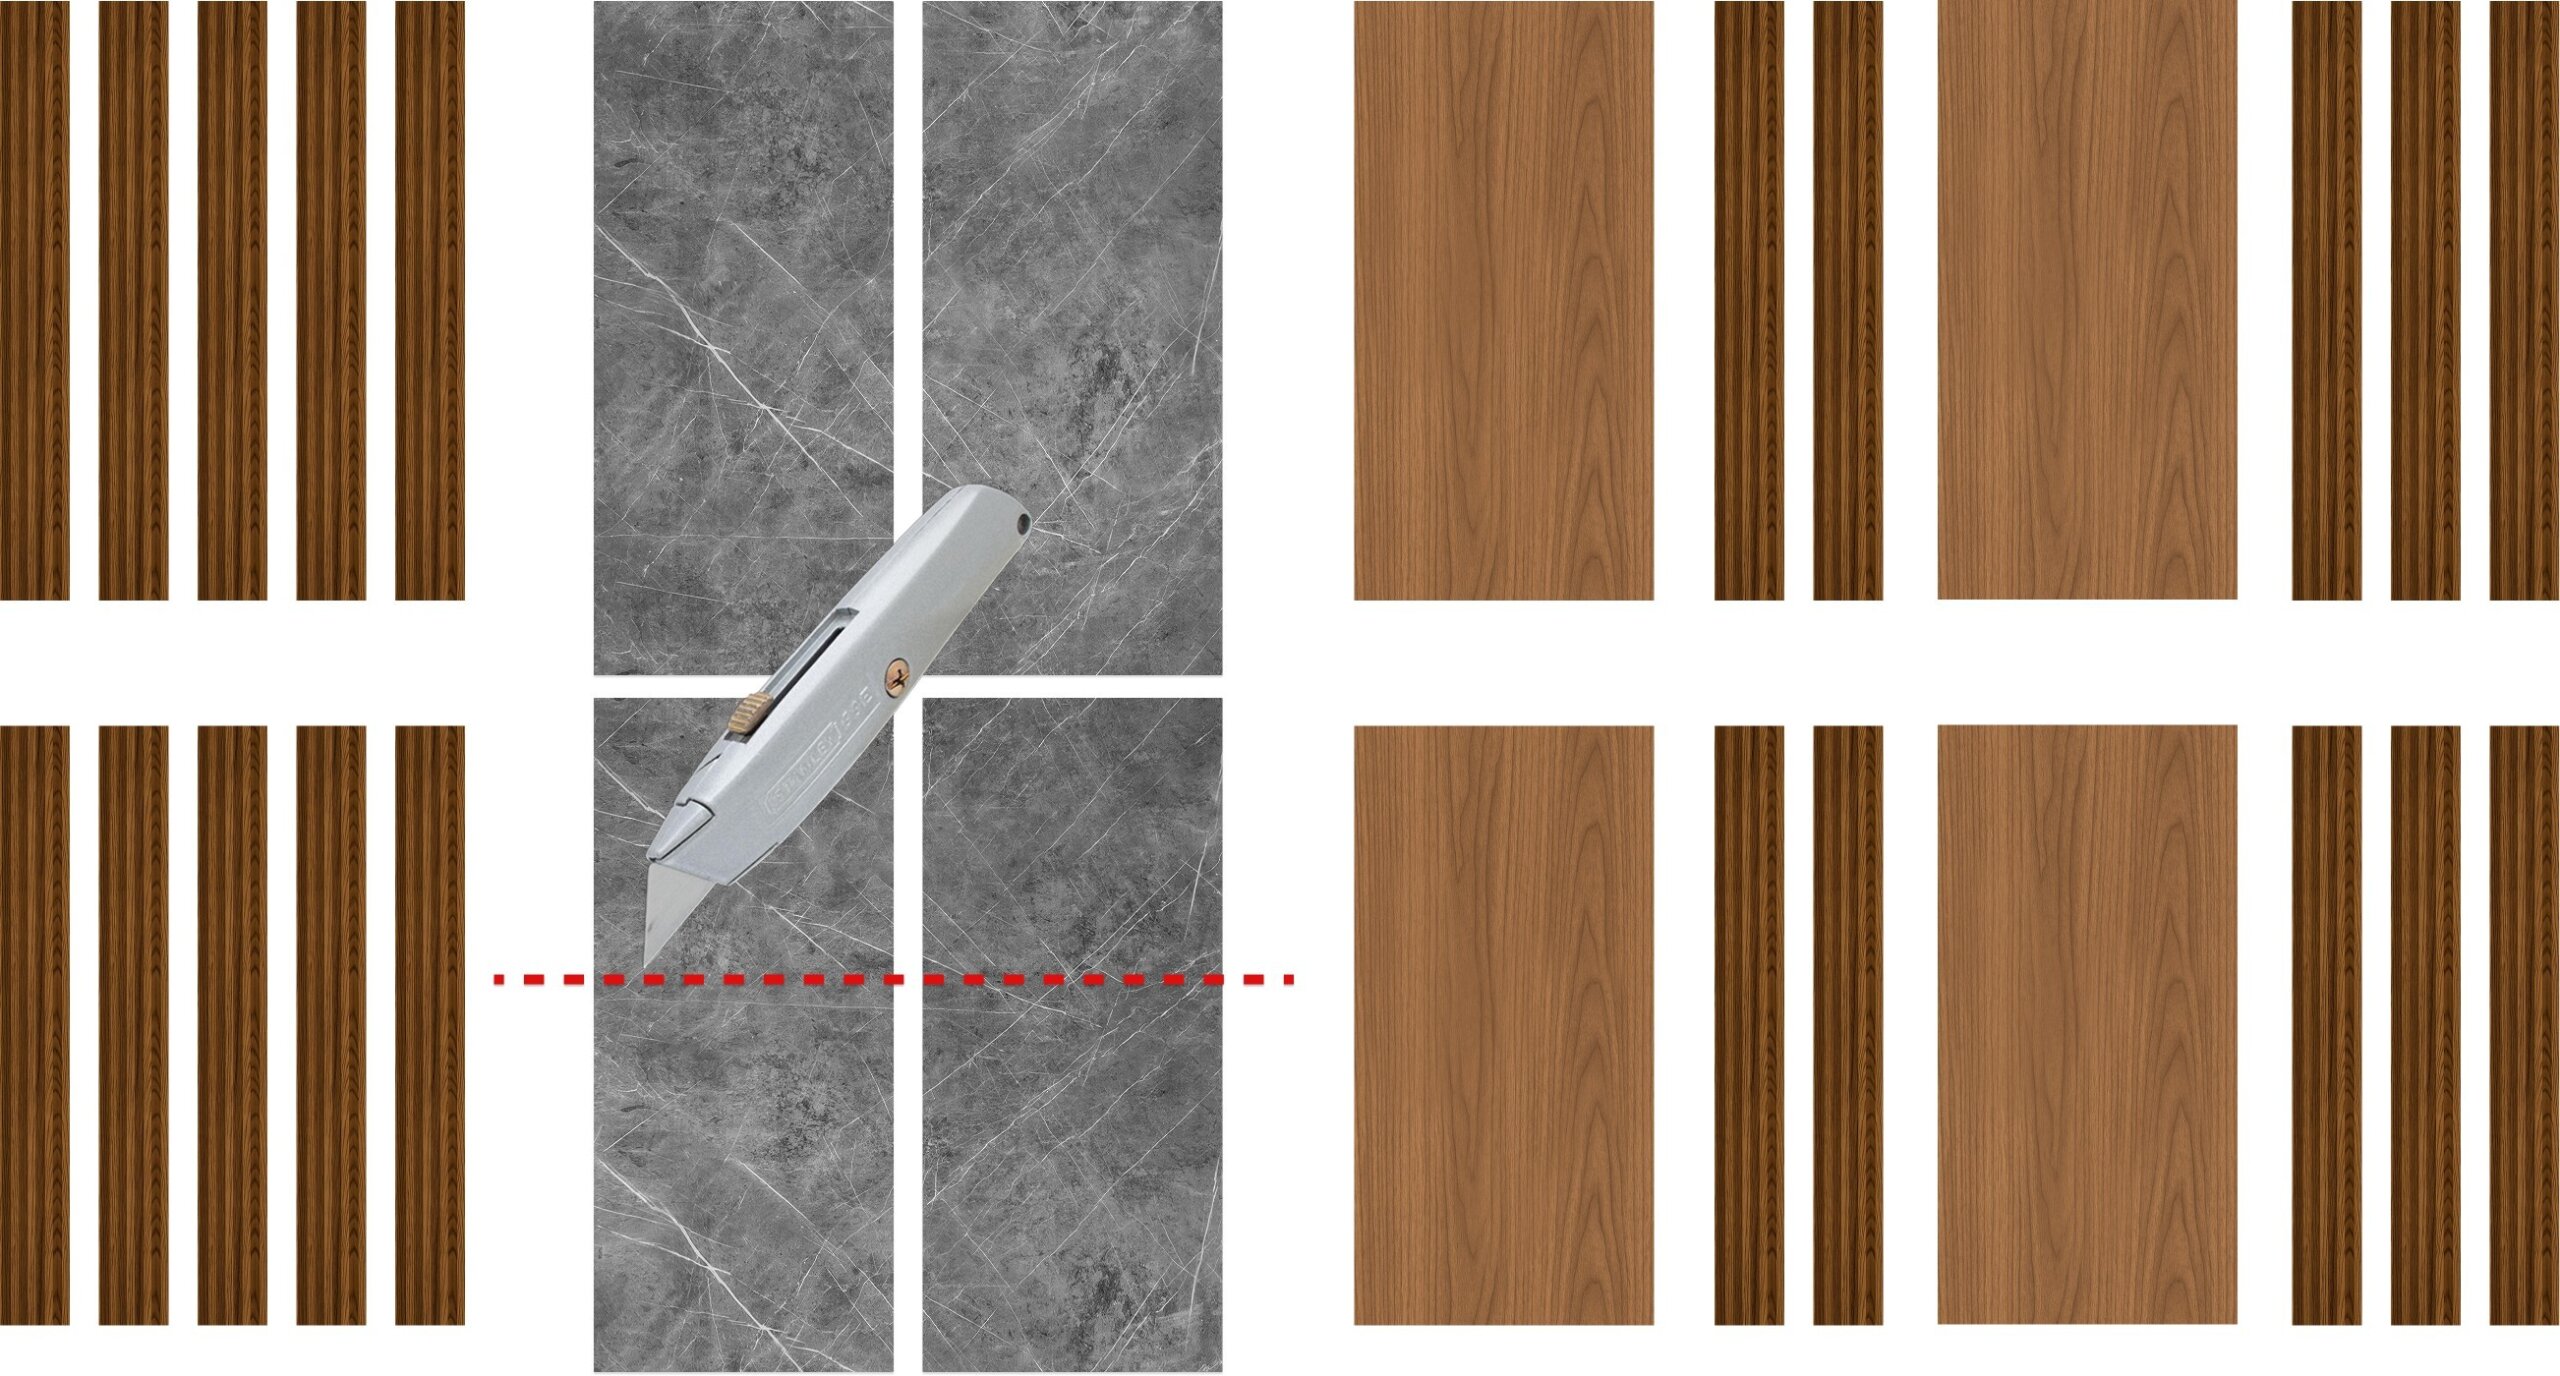
Dry-lay pieces on the floor to confirm pattern/grain direction and smooth connection of the parts.
Recommended adhesive: Fuze It Max (Home Depot product #313740337). Estimated coverage is 20–25 sq. ft. per tube.
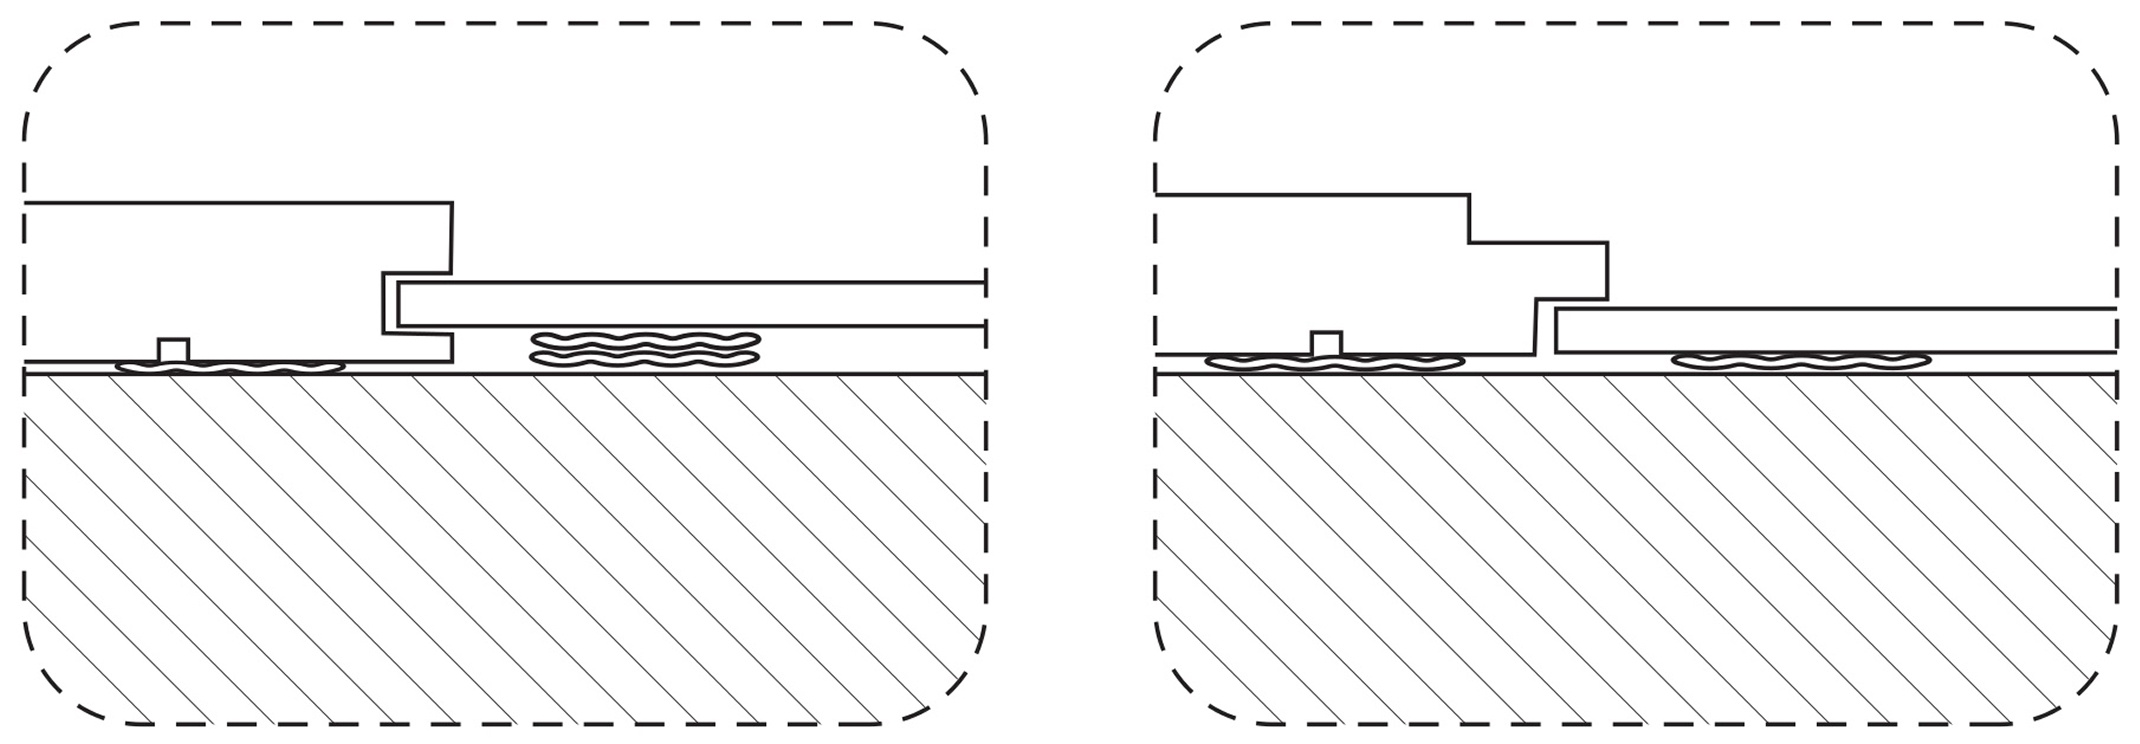
If you are renting or just want to keep the wall clean.
First, attach 1/4 in. MDF sheets to the wall with finishing nails. The small nail holes are easy to patch later. Then install the wall panels over the MDF using adhesive, following the standard installation diagram.
For a more advanced setup, align the MDF joints with the panel joints so the wall can be removed in sections and relocated.
Installation Guide
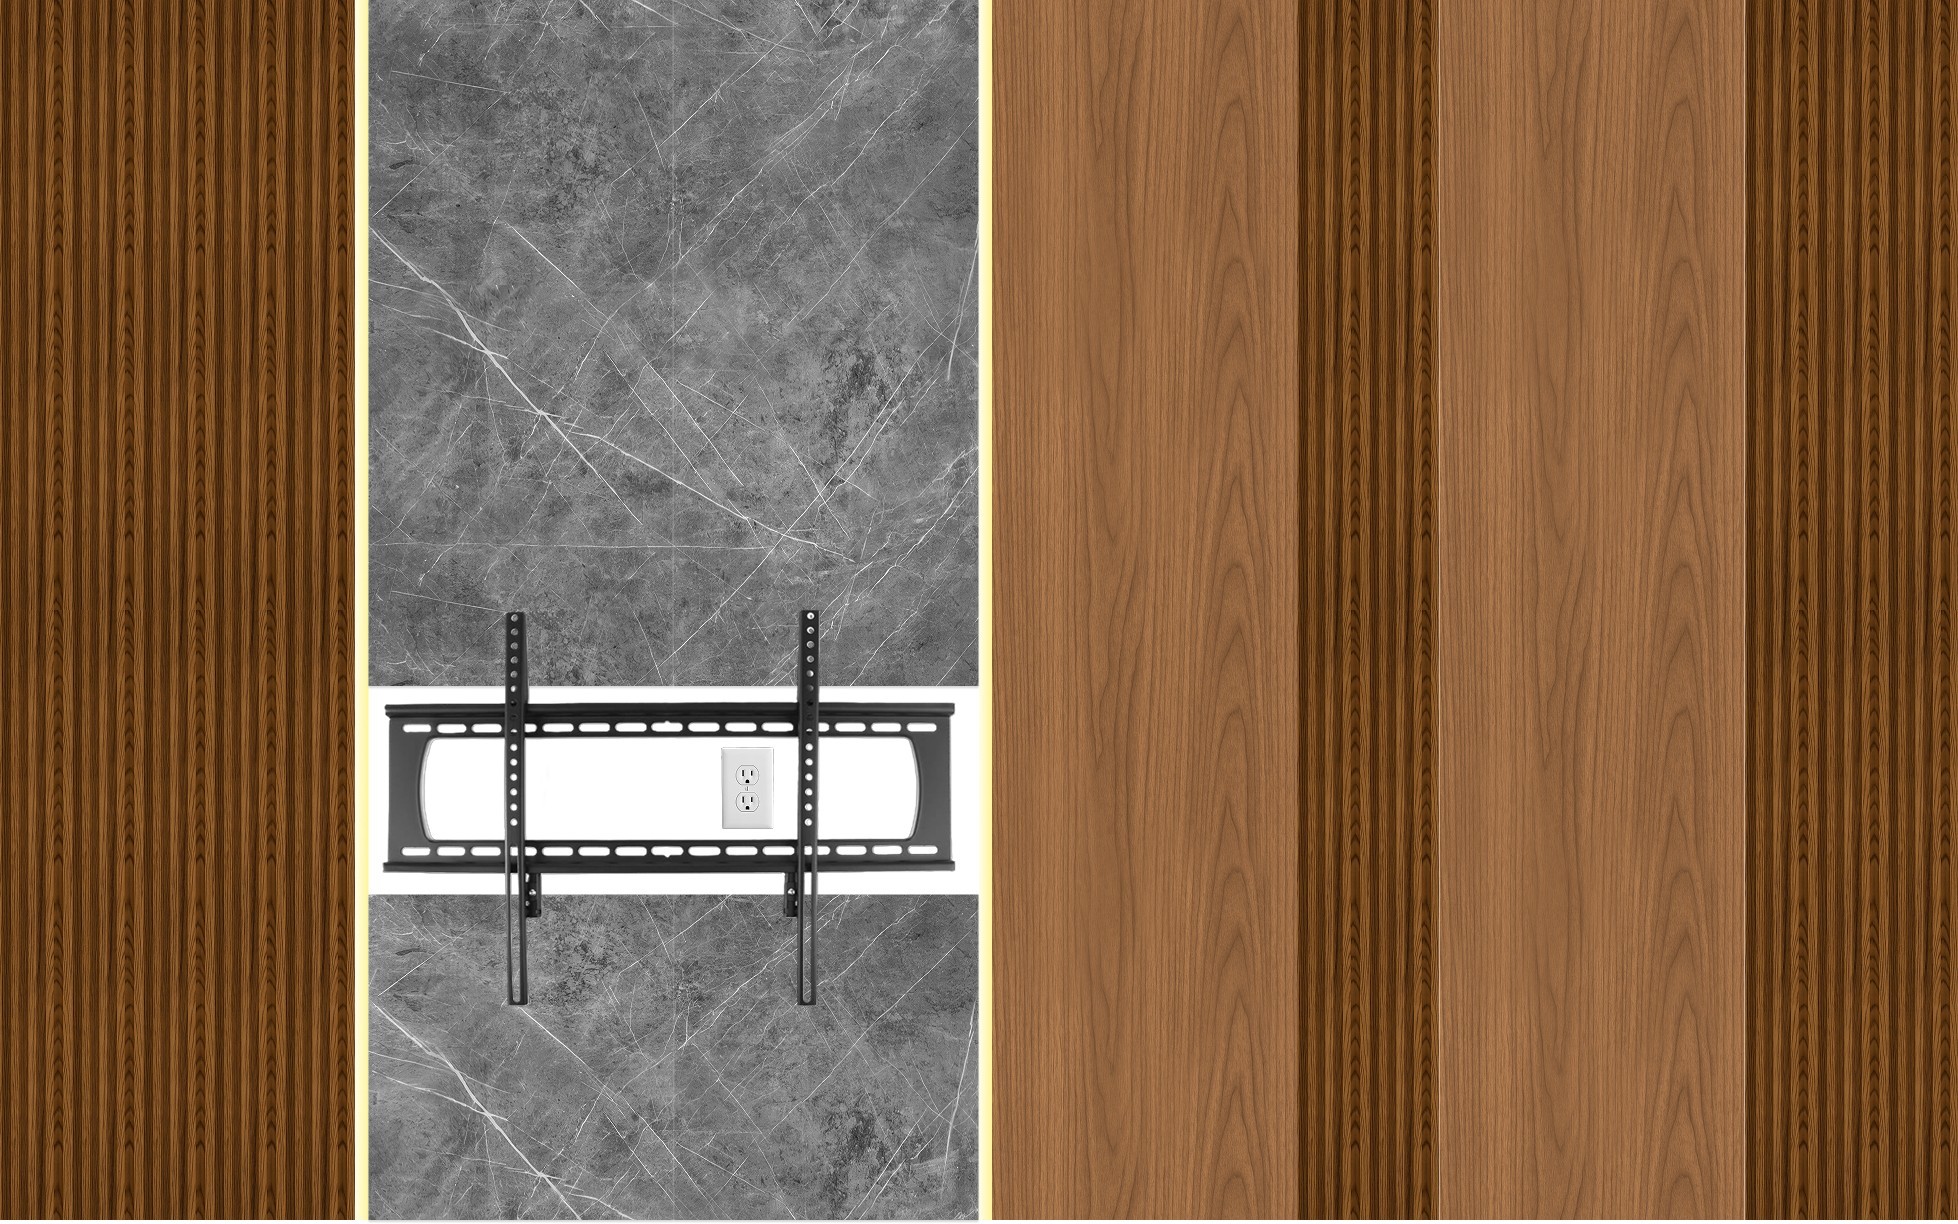
Cut the marble panels to size to allow the TV mounting bracket to be installed on the wall.
Cut SPC panels with a utility knife: score the face side several times, then snap the panel over the edge of a table.
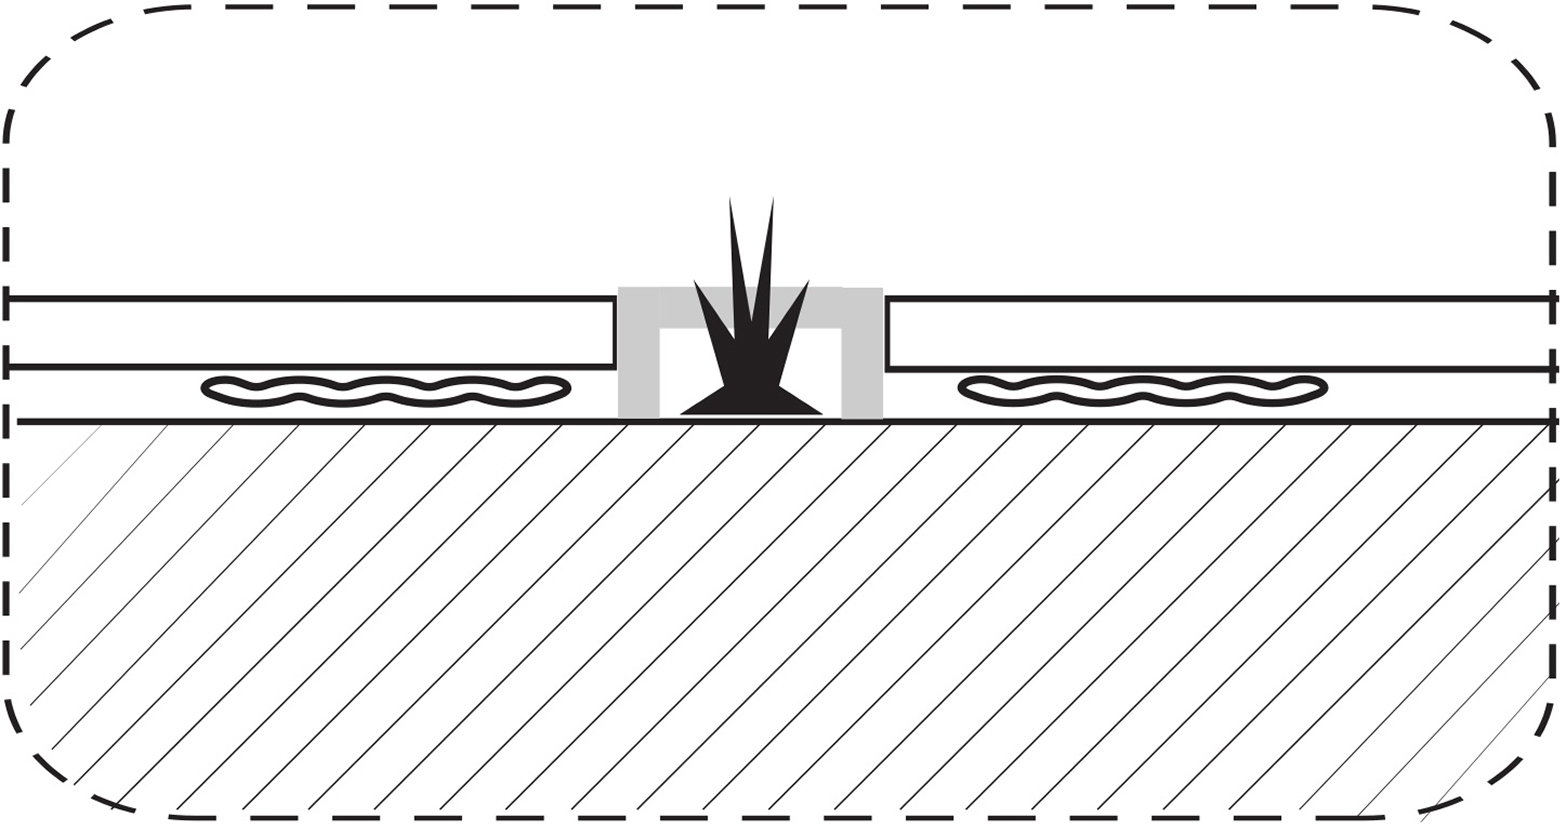
Connections of Slats and Panels
Install the LED strip and secure the light channel by pressing it between the slats and panels.
Wall panels are typically installed by preparing the wall, marking the layout, arranging the parts on the floor, applying adhesive, and securing the panels in place. Follow the installation instructions provided for your specific model.
Yes, most wall panel systems are designed for DIY installation and can be installed with basic tools. Our support team is available to help with installation questions. If you prefer professional help, a local handyman can usually handle the installation for a few hundred dollars.
Yes, a complete functional lighting kit is included for models shown with integrated lighting. The kit includes the power supply, LED channels, and a dimmable switch. For designs featuring hidden lighting systems, a full set of acoustic raising panels is also included to create the required spacing and lighting effect.
In some cases, panels must be cut to fit around the TV bracket, outlet boxes, or cable openings. Follow the installation diagrams to keep cutting to a minimum and ensure proper alignment around the TV area.
Most installations use construction adhesive, with optional nails for extra support.
Most accent walls can be installed within a few hours depending on size and complexity.
Yes, panels can usually be removed with minimal wall damage. If adhesive is used, removal may peel some of the original paint, but the wall can usually be repaired with light patching and repainting. We also offer a dry installation method over MDF sheets, which is a good option for renters. In that case, removal typically leaves only small nail holes that are easy to patch. For a more advanced setup, the wall can even be made movable by aligning the MDF backing joints with the panel joints, allowing sections to be removed and relocated.
Enter your ZIP code to find your nearest dealer.