INSTALLATION Q&A
Is Walls To Go installation easy?
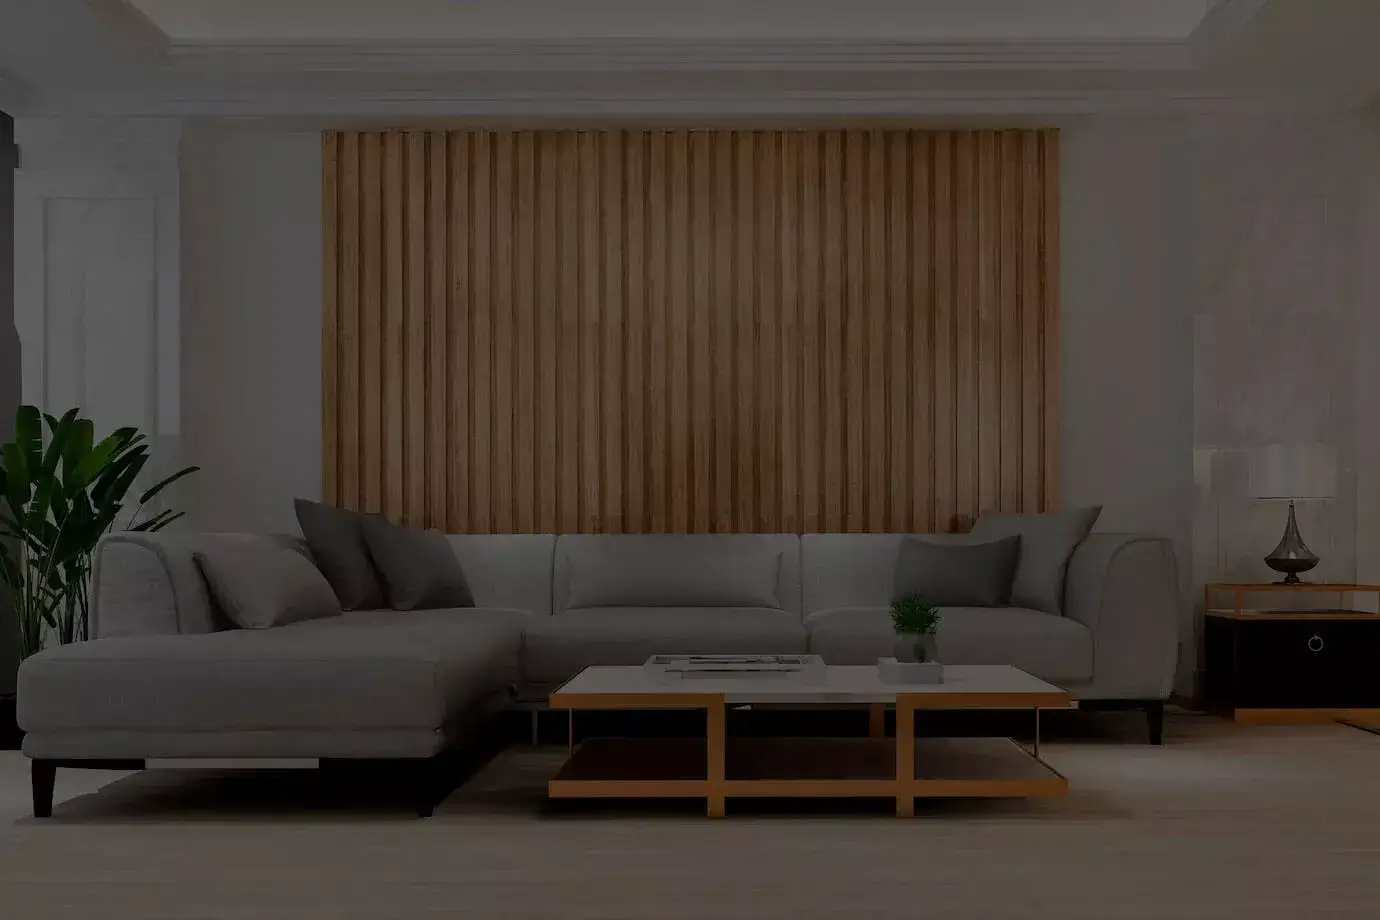
Yes. Walls To Go pre-designed wall systems are made for easy DIY installation or handyman installation. The design, layout, and parts are prepared in advance, so the installation process is much simpler than a traditional custom accent wall, TV wall, or decorative wall renovation.
Does each wall model have its own installation instruction?
Yes. Each Walls To Go model has its own installation instruction showing the exact steps, layout, order of installation, details, dimensions, and model-specific notes. The general information on this page explains the common installation principles, while the model instruction shows how to install your selected wall design.
Can I install a Walls To Go wall myself?
Yes. Many customers can install a pre-designed wall system themselves using basic tools and the model-specific installation diagram. A handyman can also complete the installation if you prefer not to do it yourself.
How long does installation usually take?
Most pre-designed wall systems can be installed in a few hours or within one day, depending on the wall size, design complexity, cutting, lighting, and installer experience.
Do I need construction experience?
Advanced construction experience is usually not required. The installation is designed to be straightforward: prepare the wall, follow the diagram, cut only where needed, and attach the parts in the correct order.
Are the parts pre-cut?
Many parts are precision-cut for the selected design layout. Some final trimming may be needed on site to fit your exact ceiling height, wall width, outlets, baseboards, or room conditions.
Can the wall be installed directly on drywall?
Yes. Most components can be installed directly on clean, dry, flat drywall using the recommended construction adhesive or the method shown in the model-specific instruction.
Can I install the system over existing paint, tile, or another wall surface?
In many cases, yes, if the surface is flat, secure, clean, dry, and properly prepared. Loose paint, loose tile, wallpaper, heavy texture, moisture damage, or uneven walls should be corrected before installation.
Do I need to remove baseboards?
In most cases, no. Many Walls To Go designs are made to be installed above existing baseboards, but some models can also be adjusted for a floor-to-ceiling appearance.
Can the installation be removable or rental-friendly?
Yes. For this, use a thin MDF backing sheet attached to the wall first. The decorative wall system is then installed over the backing sheet, which can make future removal easier and cleaner.
Can Walls To Go systems hide TV wires or LED wires?
Some designs can help conceal low-voltage LED wires or TV cables when planned before installation. Electrical wiring, outlet relocation, in-wall power connections, and hardwiring must follow local electrical codes.
Who should connect the LED lighting?
Simple low-voltage LED connections may be completed according to the product instructions. If hardwiring, concealed wiring, dimmers, transformers, or code issues are involved, a qualified electrician should be used.
What should I check before starting installation?
Check that you have the correct model instruction, all parts, the installation diagram, basic tools, adhesive, a flat wall surface, and clear measurements for outlets, switches, TV location, ceiling height, and baseboards.
Whole Installation Guide
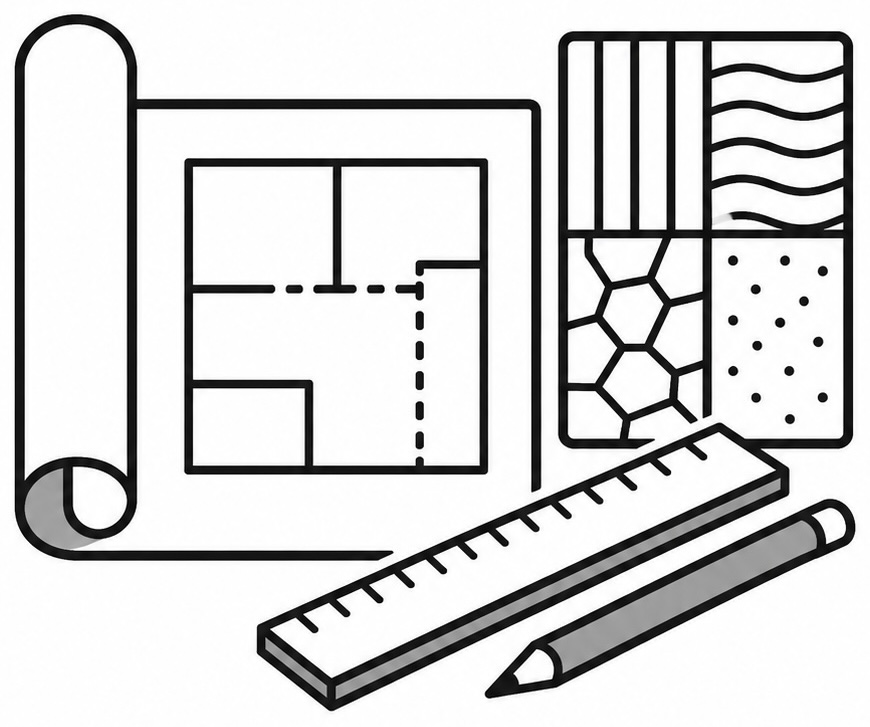
PREPARATION AND PLANNING
Good preparation makes the installation simple. Before starting, open the model-specific installation instruction for your selected Walls To Go design and compare it with the wall where the system will be installed. Each model has its own layout, order of installation, and detail drawings.
- Measure the full width and height of the wall.
- Check the location of baseboards, outlets, switches, vents, windows, doors, TV brackets, and fireplace openings if applicable.
- Make sure the wall is clean, dry, flat, stable, and free from loose paint, dust, wallpaper, moisture damage, or heavy texture.
- We recommend that wall flatness deviation should not exceed 1/16 in. over 3 ft. to ensure a tight and clean installation. Minor inconsistencies can sometimes be adjusted with adhesive, but this requires installation skill and careful leveling. If the wall has larger uneven areas, it should be flattened with plaster or drywall compound before installation.
- Lay out the parts on the floor and compare them with the installation diagram before attaching anything to the wall.
- Plan all cuts before applying adhesive.
NOTES FOR CLEAN / REMOVABLE INSTALLATION METHOD
For a clean and easy removable installation, a thin MDF backing sheet can be attached to the wall first using a dry method with finishing nails. The decorative wall components are then attached to the MDF instead of directly to the original wall surface.
- This method can make future removal easier.
- It can reduce damage to the original wall compared with direct adhesive installation.
- It is useful for rental properties, temporary installations, showrooms, displays, or customers who may want to change the wall later.
- The original wall may still require small nail-hole repairs after removal.

TOOLS AND MATERIALS
Most Walls To Go installations use common tools. The exact list is shown in the installation instruction for each model.
- Tape measure, level, pencil, straight edge, and utility knife.
- Construction adhesive and caulk gun.
- Finishing nailer and finishing nails when the model instruction requires felt raising panels or dry installation.
- Miter saw, table saw, or fine-tooth blade for clean cuts in slats.
- Drill, screws, anchors, or outlet box extensions when needed for job-specific conditions.
- Safety glasses, gloves, and dust protection when cutting.
Recommended adhesive: Fuze It Max construction adhesive, Home Depot Product #313740337. Always confirm compatibility with the wall surface and the parts being installed.
INSTALLATION OF SPC WALL PANELS
SPC panels are designed for fast installation on a flat, prepared surface. Follow the model-specific diagram, start from the reference line shown in the instruction, and check alignment before pressing parts firmly into place.
How to cut panels: Score the face side several times with a sharp utility knife and snap the panel along a straight edge when appropriate. For precise cuts around outlets, switches, or other openings, cover the cutting area with painter’s tape and mark the exact position of the future opening. Drill small holes in the corners, then score several times along the cutting lines. After that, score two diagonal lines across the center of the marked opening. The center pieces can then be carefully snapped out using a screwdriver or pliers.
- Dry-fit before applying adhesive.
- Mark outlet and switch openings carefully.
- Apply adhesive evenly and press the panel firmly into place.
- Keep edges aligned and clean excess adhesive immediately.
- Hold each panel in place for a few minutes until the adhesive sets enough to support the panel. When starting from the bottom row, the panels should rest on a stable support, such as the top edge of the baseboard, the floor, or a temporarily attached support plank.
Panels Installation
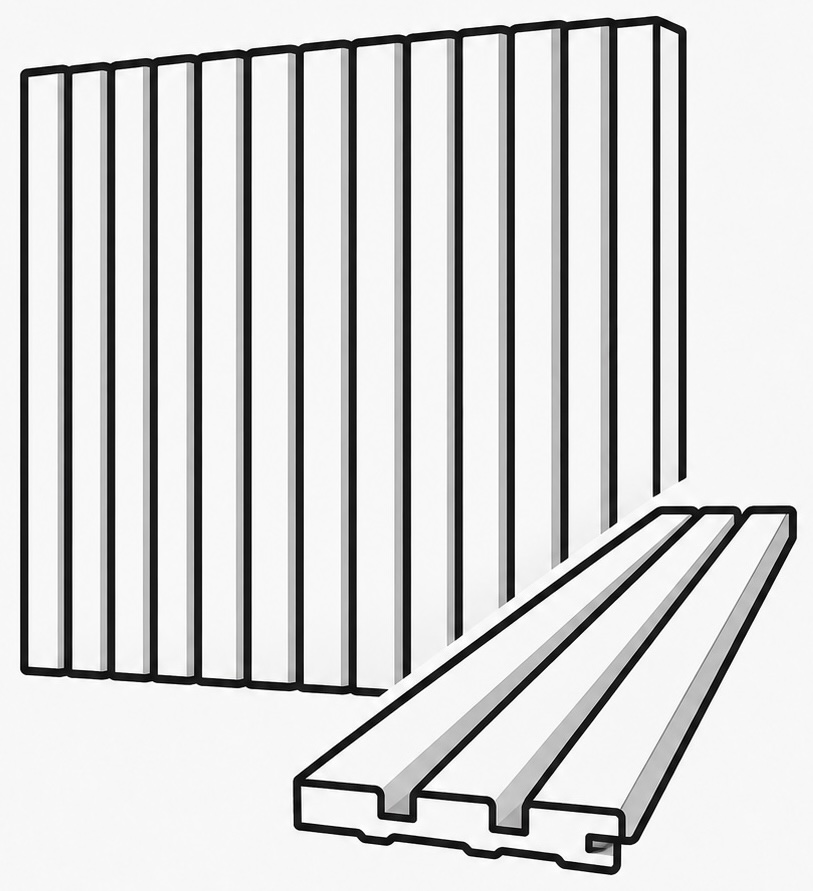
INSTALLATION OF WPC SLATS AND THERMO-TREATED WOOD SLATS
WPC slats and thermo-treated wood slats are used to create vertical or horizontal linear texture. The main installation idea is simple: mark the layout, cut the slats if needed, and attach them according to the spacing and connection type specified for the selected model, such as shiplap or tongue-and-groove.
How to cut slats: Use a miter or circular saw with a sharp, fine-tooth blade for clean cuts. Measure each cut carefully, especially when installing between the ceiling, baseboard, outlets, or adjacent design parts.
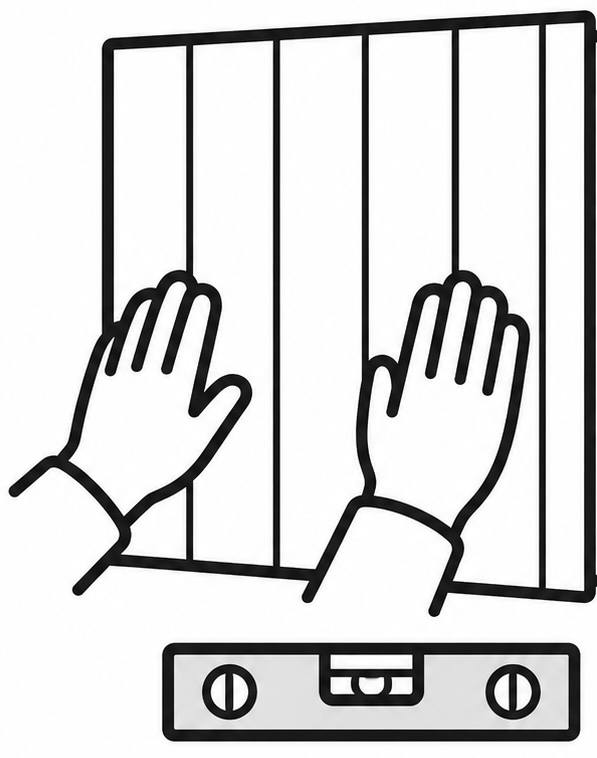
- Check the first slat carefully; it sets the line for the rest of the design.
- Use a level to keep the layout straight.
- Use adhesive, finishing nails, or the method shown in the model instruction.
- Do not rely on decorative slats to support heavy shelves, TVs, or cabinets. The holding effort should be transferred to the backing wall.
- Because slats have non-symmetrical left and right sides, with either a tongue or a groove edge, decide before installation which side should remain exposed if the slats form the outside edge of the wall design.
- When slat sections are installed between panels, the slat orientation may be different even within the same model. Some slats may be installed groove-to-groove so the panels fit into the grooves on both sides. Other slats may be installed tongue-to-tongue on top of the panels. Always follow the model-specific installation diagram.
Slats Installation
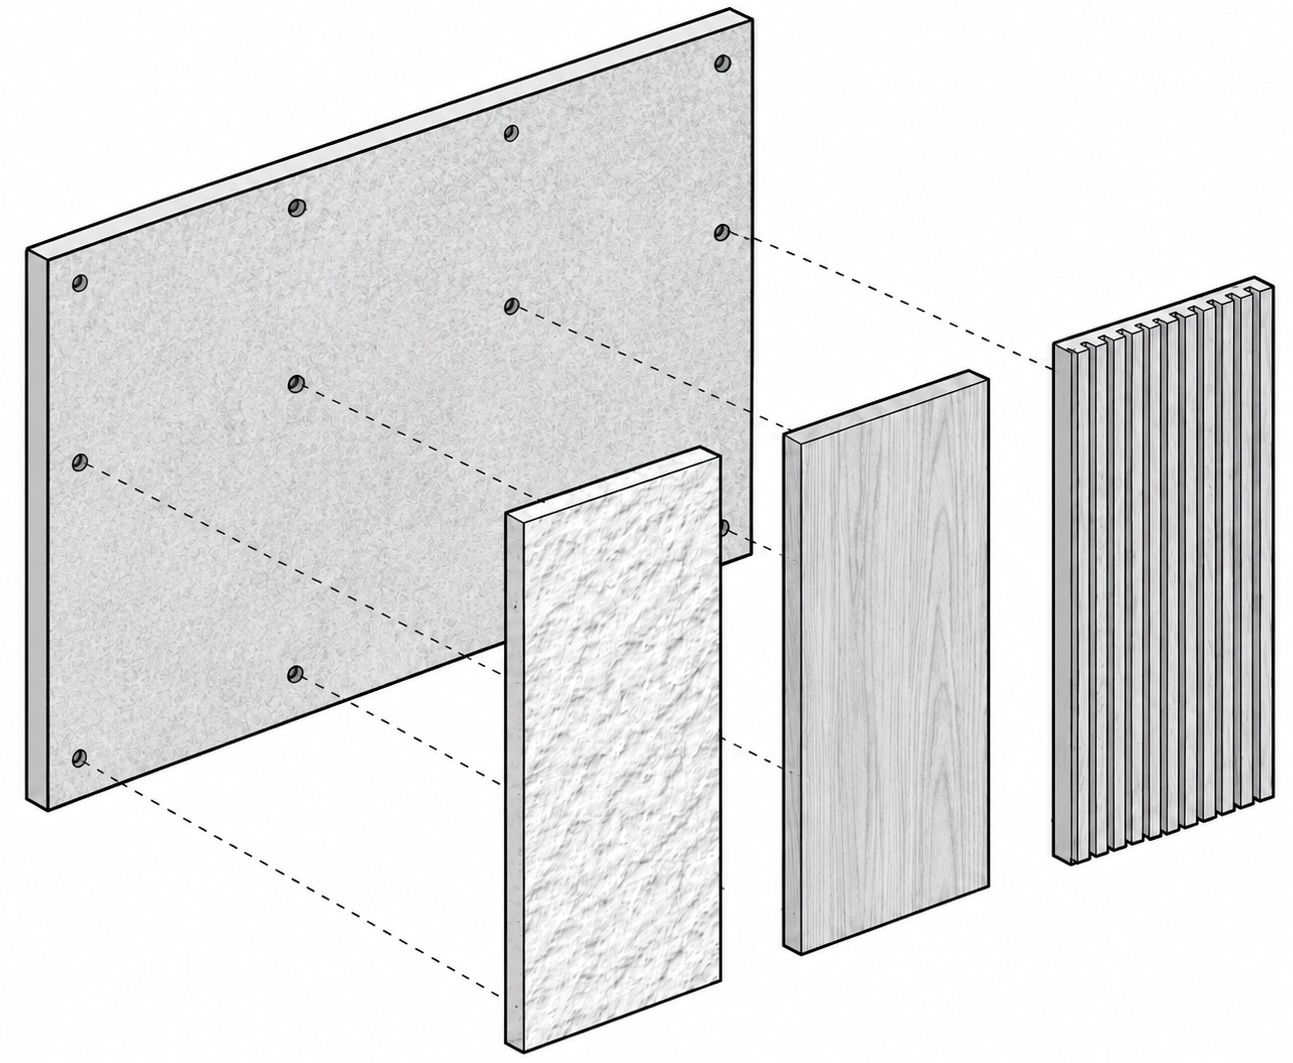
INSTALLATION OF RAISED PANELS, ACOUSTIC FELT, AND HIDDEN LIGHT SECTIONS
Raised panels, acoustic felt sections, and hidden light details are installed according to the selected model diagram. These parts are designed to add depth, shadow lines, soft acoustic effect, and decorative lighting while keeping the installation process organized.
- If you need to cut felt, use a sharp utility knife or heavy-duty scissors.
- Plan the LED path before attaching the parts.
- Cut LED strips only at marked cut points. See the instructions enclosed with the LED supply.
- Test the lights before closing or covering wiring paths.
- Use a qualified electrician for hardwiring, concealed power, or code-related work.
- LED light strips and plastic light covers have a self-adhesive backing, so proper attachment depends on a clean surface with no dust, oil, or fingerprints. Before installation, wipe the surface carefully and avoid touching the adhesive area.
- LED channels installed under the LED covers are secured by the covers themselves. In most cases, the covers are locked between panels, which helps hold the lighting system in place. If the light cover is mounted freely without being held between panels, we recommend adding a few small dots of clear silicone to improve long-term attachment.
Raised Panels / Acoustic and Hidden Light Installation

INSTALLATION OF GEOMETRIC DESIGNS AND WOOD TRIANGLES
Geometric wall designs are installed by following the diagram. The key is to mark the center lines and confirm the pattern before attaching parts.
- Always dry-fit the pattern first so the visual rhythm remains balanced.
- We recommend first creating square modules with the pins already attached, and then moving and positioning these squares on the wall to achieve the desired pattern.
- Lay out the full pattern before installation.
- Start installation from the bottom.
- Check angles, spacing, and alignment as you go.
- Avoid rushing; the pattern should be visually consistent before adhesive sets.
- Install the light channel into the piece designed for hidden lighting, then pull the power cord through the special opening. Before attaching the parts to the wall, plan the wire path to the power source, either behind the panels or between the panel sections.